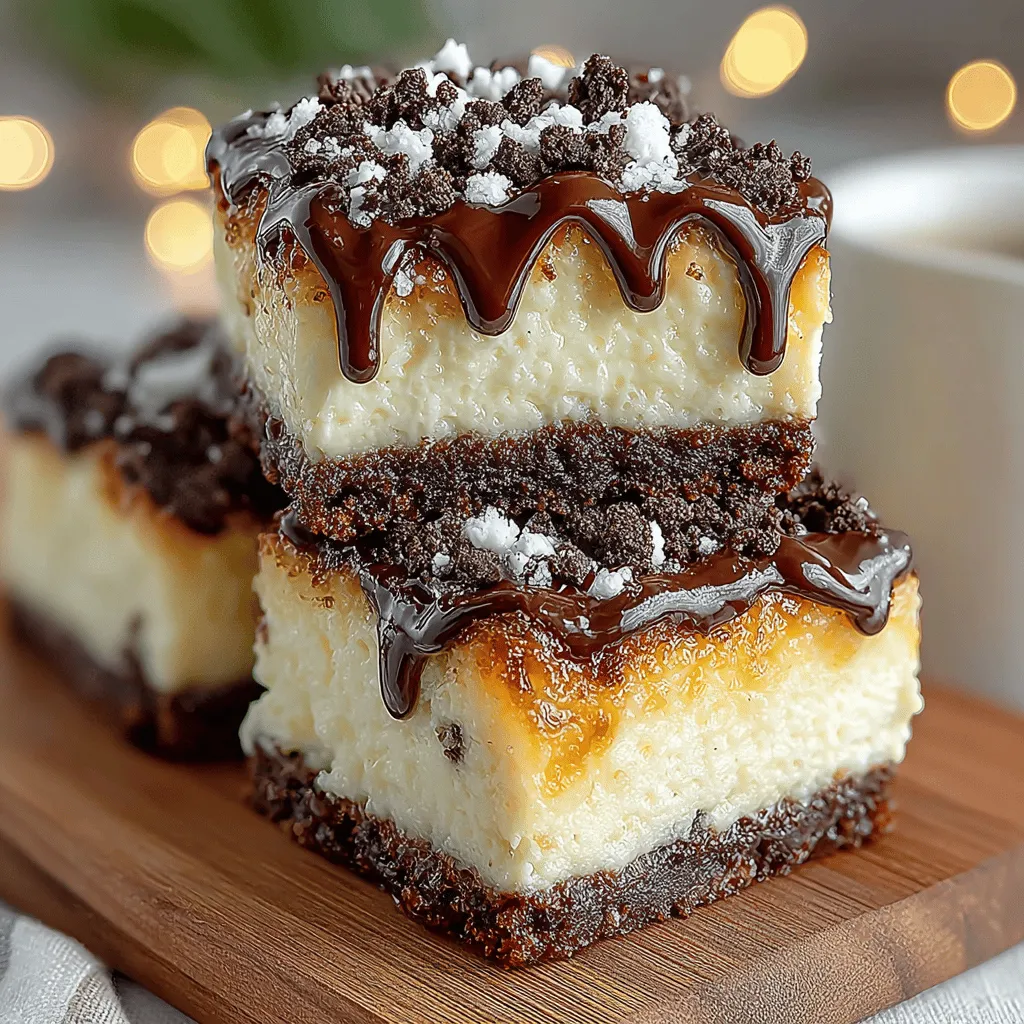
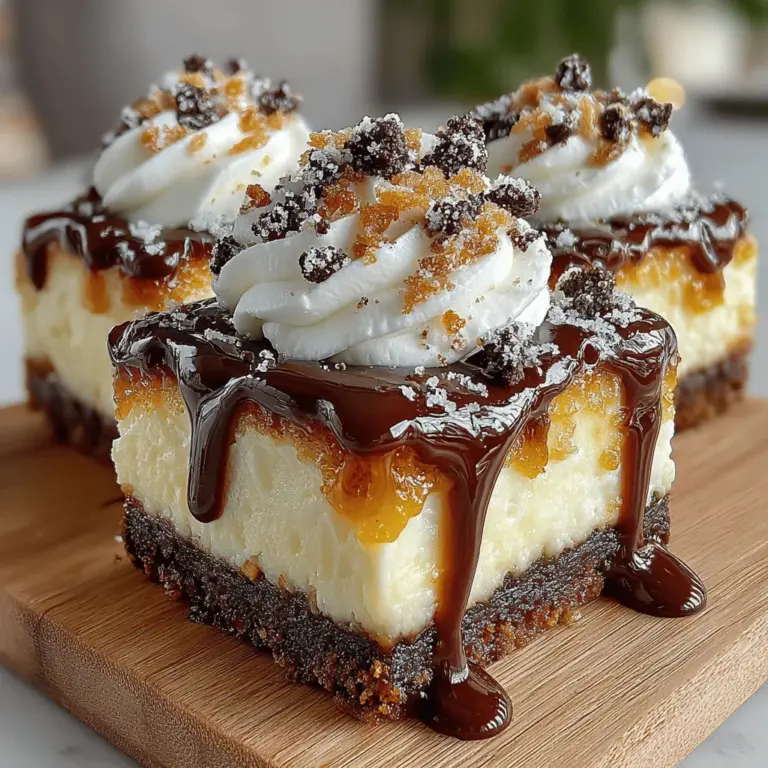
If you’re looking for a dessert that perfectly marries two iconic treats, look no further than Oreo Cheesecake Dream Bars. These delectable bars combine the rich, creamy decadence of cheesecake with the beloved chocolatey crunch of Oreo cookies, making them an irresistible choice for any dessert lover. Not only do they offer a delightful flavor profile, but they also present beautifully, making them ideal for gatherings, celebrations, or simply as a treat for yourself.
In recent years, no-bake desserts have gained immense popularity, and for good reason. They’re straightforward to prepare, require minimal cooking skills, and often yield impressive results. Oreo Cheesecake Dream Bars fit seamlessly into the no-bake category, allowing you to whip up a crowd-pleasing dessert with ease. Whether you’re hosting a birthday party, a holiday gathering, or just a casual get-together with friends, these bars are guaranteed to be a hit. The combination of a crunchy crust and a smooth, creamy filling makes them a perfect indulgence for any occasion.
The Allure of Cheesecake Bars
Cheesecake bars have become a staple in the world of desserts, and it’s easy to see why. Their creamy texture is a comforting delight, and they offer the versatility to adapt to various flavors, toppings, and presentations. Unlike traditional cheesecakes, which can be cumbersome to slice and serve, cheesecake bars are cut into neat squares, making them ideal for sharing and serving at parties.
The beauty of cheesecake bars lies in their adaptability. You can easily customize them with different flavorings, such as fruit purees, chocolate, or even spices like cinnamon or nutmeg. This makes them a versatile option that can cater to different tastes and preferences. The addition of Oreos in this recipe not only provides a delightful contrast in texture but also enhances the overall flavor profile, creating a dessert that is both familiar and exciting.
As you prepare to embark on making your own Oreo Cheesecake Dream Bars, you’ll find that they’re not only simple to make but also remarkably rewarding. The combination of creamy filling and a crunchy crust creates an indulgent experience that is hard to resist.
Ingredients Overview
Before diving into the preparation, it’s essential to gather all the necessary ingredients. Each component of this recipe plays a significant role in achieving the perfect balance of flavor and texture.
– Oreo Cookies: The star of this recipe, Oreos provide a rich chocolate flavor and a delightful crunch. They serve as both the base for the crust and an added texture element in the filling, ensuring that every bite is infused with that signature Oreo taste.
– Unsalted Butter: Butter acts as a binding agent for the crust, helping to hold the crushed cookies together. Using unsalted butter allows for better control over the overall saltiness of the dessert.
– Cream Cheese: This is the heart of the cheesecake filling. Cream cheese contributes to the rich, creamy texture that cheesecake lovers adore. It’s essential to use softened cream cheese to ensure a smooth filling that blends seamlessly with the other ingredients.
– Powdered Sugar: Unlike granulated sugar, powdered sugar dissolves easily, preventing any gritty texture in the cheesecake. It sweetens the filling to perfection without compromising its creamy consistency.
– Heavy Cream: Whipping heavy cream adds a lightness to the cheesecake filling, creating an airy texture that balances the denser cream cheese. This step is crucial for achieving that dreamy, melt-in-your-mouth quality.
– Vanilla Extract and Salt: These ingredients are essential for enhancing the flavors of the dessert. Vanilla extract adds depth and warmth, while a pinch of salt helps to elevate the sweetness, creating a more rounded flavor profile.
– Optional Chocolate Drizzle: For those looking to take their Oreo Cheesecake Dream Bars to the next level, a drizzle of melted chocolate adds an extra layer of indulgence. This garnish not only looks appealing but also complements the flavors of the Oreos and the creamy filling.
Step-by-Step Instructions
Now that you have an overview of the ingredients, let’s dive into the preparation process. Making Oreo Cheesecake Dream Bars is straightforward, and following these detailed steps will ensure that you achieve perfect results.
Preparing the Oreo Crust
1. Crush the Oreos: Start by taking a package of Oreo cookies and placing them in a food processor. Pulse the cookies until they are finely crushed, resembling coarse sand. If you don’t have a food processor, you can place the cookies in a resealable plastic bag and crush them with a rolling pin. This method may take a bit longer, but it will yield the same results.
2. Mix with Butter: Transfer the crushed Oreos into a mixing bowl. Melt about half a cup of unsalted butter in the microwave or on the stovetop until completely melted. Pour the melted butter over the crushed cookies and mix well until all the crumbs are evenly coated. The mixture should be damp and hold together when pressed.
3. Press into a Pan: Line an 8×8-inch square baking pan with parchment paper, leaving some overhang for easy removal later. Pour the Oreo crust mixture into the pan and use the back of a measuring cup or your hands to press it down firmly and evenly. This step is crucial, as a well-packed crust will provide a sturdy base for the creamy filling.
4. Chill the Crust: Once the crust is pressed into the pan, place it in the refrigerator for about 10-15 minutes. Chilling the crust will help it firm up, making it easier to spread the filling on top.
With the crust prepared, you’re now ready to move on to creating the luscious cheesecake filling. Follow these steps, and you’ll be well on your way to enjoying your homemade Oreo Cheesecake Dream Bars.

Forming the Base
The foundation of your Oreo Cheesecake Dream Bars begins with the crust, which is crucial for providing stability and texture. To form a sturdy base, start by using a food processor to finely crush the Oreos until they resemble sand. Combine the crushed Oreos with melted butter in a mixing bowl; the butter acts as the binding agent, holding the crust together.
Once you have your mixture, press it firmly into the bottom of a greased 9×9-inch baking pan. Use the back of a measuring cup or your hands to pack the crust tightly, ensuring there are no gaps. A well-packed crust will not only support the cheesecake filling but will also create a satisfying crunch in every bite. Aim for an even layer, as this will help the bars maintain their shape when cut.
Making the Cheesecake Filling
With the crust firmly in place, it’s time to create the heavenly cheesecake filling. In a large mixing bowl, beat softened cream cheese with granulated sugar using an electric mixer on medium speed. Blend until the mixture is smooth and creamy, ensuring there are no lumps. This step is vital; if the cream cheese is not adequately softened, it won’t blend well, leading to a lumpy filling.
Once your cream cheese and sugar are well combined, take a moment to scrape down the sides of the bowl to ensure everything is incorporated. This will help achieve a consistent texture throughout your filling.
Incorporating Flavor
To elevate the flavors in your cheesecake, add a splash of pure vanilla extract and a pinch of salt. The vanilla enhances the overall taste, while the salt helps balance the sweetness, creating a more complex flavor profile. Mix these ingredients into the cream cheese mixture until fully blended. This step is essential for transforming your cheesecake filling from good to extraordinary, so don’t skip it!
Folding in Whipped Cream
Next, it’s time to add some lightness to your filling by folding in whipped cream. In a separate bowl, whip heavy cream until stiff peaks form. This means when you lift the whisk, the peaks hold their shape and do not droop. Gently fold the whipped cream into the cream cheese mixture using a spatula. Be careful not to overmix; the goal is to maintain the airiness of the whipped cream.
Folding is a technique that combines ingredients without deflating the whipped cream, ensuring your cheesecake filling remains light and luscious. This airy texture is what makes your Oreo Cheesecake Dream Bars so dreamy!
Mixing in Additional Oreos
For added texture and a burst of flavor, consider mixing in additional Oreo chunks into your cheesecake filling. Crush a few Oreos coarsely, and fold them into the mixture alongside the whipped cream. This not only enhances the Oreo flavor but also provides delightful surprises in each bite of your bars. Customizing your cheesecake with extra cookies can make it even more indulgent!
Assembling the Bars
Now that your crust and filling are ready, it’s time to assemble your Oreo Cheesecake Dream Bars. Pour the creamy cheesecake filling over the prepared crust, using a spatula to spread it evenly across the surface. Smooth out the top to create a beautiful finish. A well-distributed filling ensures that every square will have an equal amount of that luscious cheesecake goodness.
Chilling the Bars
The final step before enjoying your creation is chilling the bars. Cover the baking pan with plastic wrap or aluminum foil and place it in the refrigerator for at least 4-6 hours, or overnight if possible. Chilling is crucial; it allows the cheesecake to set properly, resulting in a firmer texture that holds its shape when cut. The longer you chill, the better the flavors meld together, enhancing the overall taste of your dessert.
Tips for Perfecting Your Oreo Cheesecake Dream Bars
To ensure your Oreo Cheesecake Dream Bars turn out perfectly every time, consider the following tips:
Chilling Time
Patience is key! Allowing your bars to chill for the recommended time will ensure a firm texture. Cutting into the bars too early may result in a messy presentation, so resist the urge to dig in right away.
Using Quality Ingredients
The quality of your cream cheese and Oreos can significantly impact the flavor of your cheesecake. Opt for full-fat cream cheese for the best results, as it provides a rich and creamy texture. Using name-brand Oreos will also yield the classic flavor associated with this beloved cookie.
Serving Suggestions
When it’s time to serve your Oreo Cheesecake Dream Bars, consider garnishing them for an extra touch of elegance. A sprinkle of crushed Oreos on top or a drizzle of chocolate sauce can elevate the presentation. You could also add fresh whipped cream or a dollop of chocolate ganache for a decadent finish.
Nutritional Information
Understanding the nutritional content of your dessert is important for those monitoring their intake. Each serving of Oreo Cheesecake Dream Bars (based on a 9×9 inch pan cut into 16 squares) contains approximately:
– Calories: 260
– Total Fat: 18g
– Saturated Fat: 10g
– Cholesterol: 50mg
– Sodium: 210mg
– Total Carbohydrates: 24g
– Dietary Fiber: 1g
– Sugars: 16g
– Protein: 3g
This nutritional overview allows you to enjoy your dessert while being mindful of your dietary choices.
Pairing Suggestions
To enhance the indulgence of your Oreo Cheesecake Dream Bars, consider pairing them with complementary beverages. A rich cup of coffee can balance the sweetness, while a glass of cold milk is a classic companion for any cookie-based dessert. For a more sophisticated option, a dessert wine or a sweet Riesling can beautifully complement the flavors of the cheesecake, creating a delightful tasting experience.
Conclusion
Oreo Cheesecake Dream Bars are the perfect dessert for any occasion, combining the beloved flavors of cookies and cheesecake into a creamy, dreamy treat. Their rich, smooth filling and crunchy crust make for an irresistible combination that is sure to impress friends and family alike.
Whether you’re celebrating a birthday, hosting a gathering, or simply indulging in a sweet craving, these bars are a fantastic choice. We encourage you to try the recipe, experiment with variations, and share your creations with friends. The joy of baking and enjoying these bars can foster a sense of community, as you exchange tips and experiences with fellow dessert lovers. So, gather your ingredients, get baking, and enjoy every delicious bite of your Oreo Cheesecake Dream Bars!


