
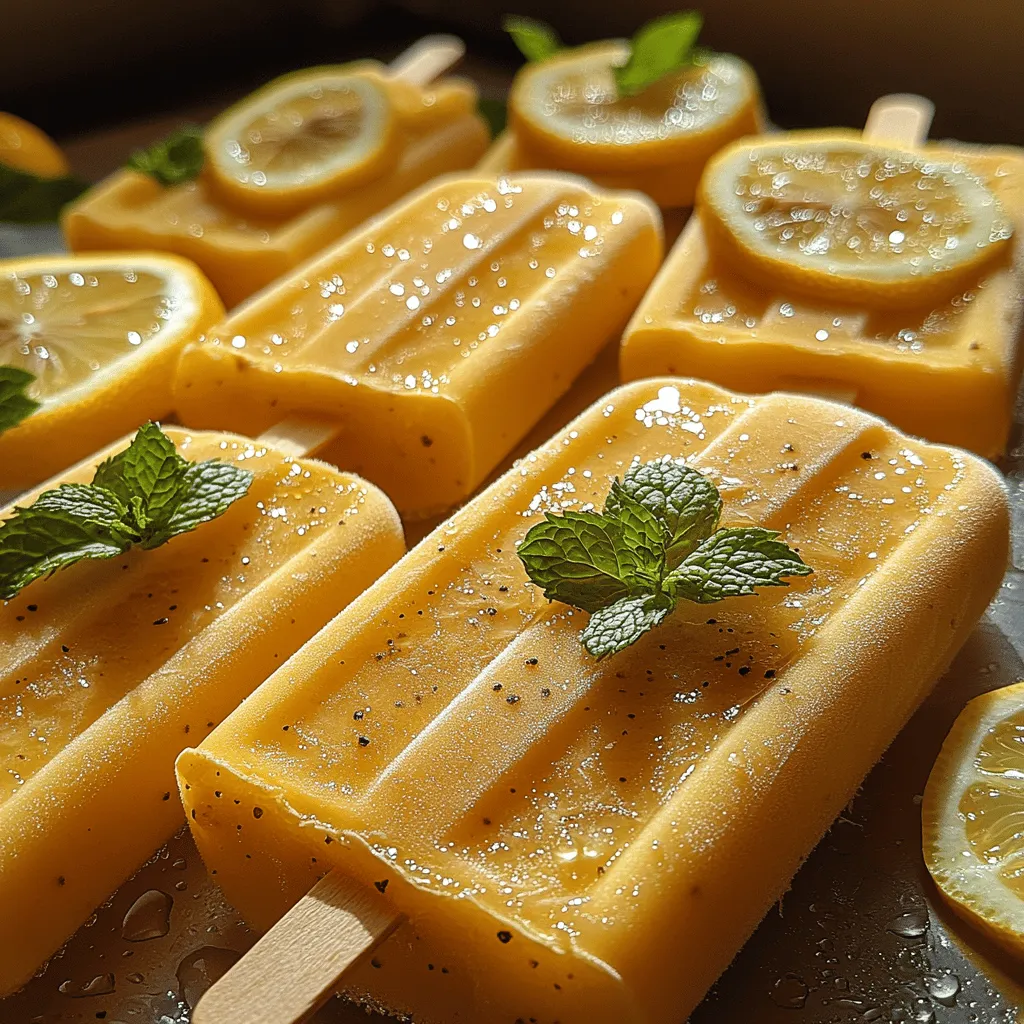
As the temperatures rise and the days grow longer, nothing quite captures the spirit of summer like homemade popsicles. These delightful frozen treats are not only a nostalgic nod to childhood but also a versatile canvas for creativity in the kitchen. Among the myriad flavors to choose from, Zesty Creamy Lemonade Pops stand out with their refreshing zing and creamy texture. This recipe combines the tangy brightness of fresh lemons with a smooth, creamy base, making it an ideal treat to cool off during those sweltering hot days.
The Allure of Lemon Flavors
Lemons are one of the most versatile fruits in cooking and baking. Their bright, acidic flavor can elevate a dish, adding complexity and a zest that is simply irresistible. Beyond their culinary uses, lemons are also packed with health benefits. Rich in vitamin C, they bolster the immune system and provide antioxidant properties that promote overall wellness. The natural tartness of lemons balances beautifully with sweet elements, making them a perfect choice for refreshing desserts.
In this recipe, the combination of lemon juice and creamy ingredients creates a unique dessert experience that tantalizes the taste buds. The zesty flavor cuts through the richness of the cream, resulting in a popsicle that is both invigorating and satisfying. Whether you’re seeking a quick snack or a fancy treat for a summer gathering, these Zesty Creamy Lemonade Pops are sure to impress.
Ingredients Breakdown
Creating these delicious popsicles starts with understanding the key ingredients that contribute to their vibrant flavor and texture. Here’s a closer look at what you’ll need:
Fresh Lemon Juice
Perhaps the most critical ingredient in this recipe is fresh lemon juice. While bottled lemon juice may be convenient, it lacks the bright, fresh flavor that freshly squeezed lemons provide. For the best results, choose ripe, juicy lemons. When juicing, roll the lemons on the countertop before cutting them in half; this helps to release more juice. Aim for about 1 cup of freshly squeezed lemon juice for the perfect balance of tartness.
Sweetened Condensed Milk
Sweetened condensed milk is the secret ingredient that brings both creaminess and sweetness to these pops. Its thick texture adds a luxurious mouthfeel, making each bite feel indulgent. The sweetness of the condensed milk complements the tartness of the lemon juice, creating a harmonious balance. If you prefer a lighter option, look for low-fat or fat-free versions that still maintain that creamy texture.
Milk Options
To enhance the creaminess further, you can choose between different types of milk. Whole milk provides a rich base, while coconut milk caters to those with dietary restrictions or those seeking a dairy-free alternative. Coconut milk adds a subtle tropical flavor that pairs beautifully with the zesty lemon. For a lighter version, consider using almond milk, which will still yield delicious results without the heaviness.
Granulated Sugar
While the sweetened condensed milk offers sweetness, you may want to adjust the overall sweetness level to your liking. Granulated sugar can be added to taste, ensuring that the popsicles aren’t overly tart. Alternatively, consider using natural sweeteners like honey or agave syrup for a healthier option. Just keep in mind that these alternatives may slightly alter the texture of the pops.
Adding Zest
Don’t overlook the importance of lemon zest in this recipe. Zesting the lemon adds an additional layer of flavor that enhances the overall pop experience. The zest contains essential oils that carry the fruit’s aromatic essence, making the pops even more fragrant and flavorful. For best results, use a microplane or a fine grater to capture the zest without incorporating the bitter white pith beneath the skin.
Optional Garnishes
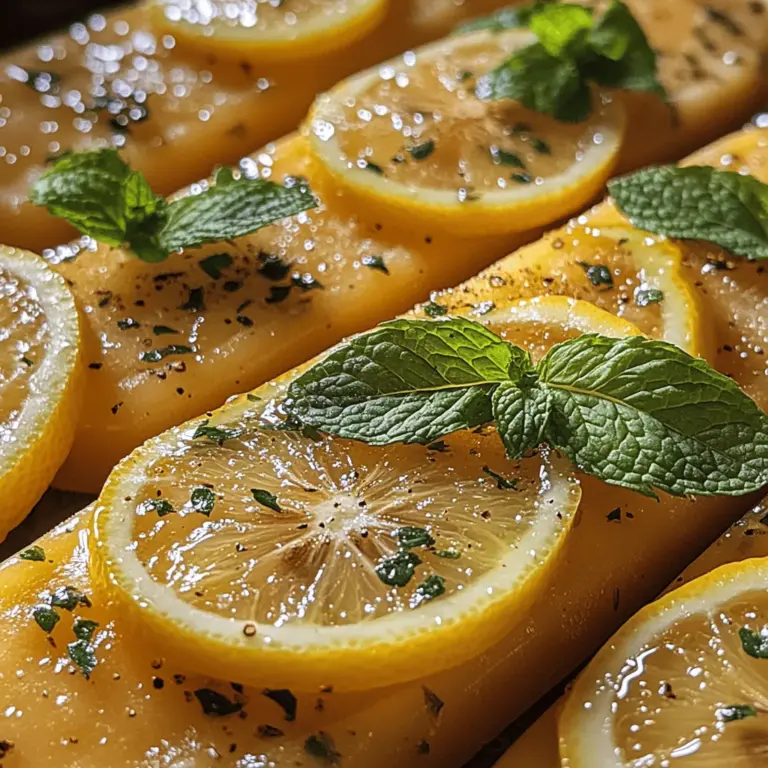
While the Zesty Creamy Lemonade Pops are delicious on their own, a few creative garnishes can elevate their presentation. Consider serving the pops with a sprinkle of lemon zest or a drizzle of honey on top. Fresh mint leaves can add a pop of color and freshness, while a few berries can provide a delightful contrast in flavor. These small touches can transform your pops into an aesthetically pleasing dessert that’s perfect for entertaining.
Step-by-Step Preparation Guide
Now that you have a grasp of the ingredients, it’s time to dive into the preparation of these zesty delights. Follow this step-by-step guide for a seamless experience.
Prep the Ingredients
Start by prepping your ingredients. This involves juicing and zesting the lemons. Use a sharp knife to cut the lemons in half, then employ a citrus juicer or reamer to extract the juice. If you don’t have a juicer, you can simply squeeze the lemons by hand. Remember to strain the juice to remove any seeds or pulp for a smooth mixture.
While you’re at it, zest the lemons using a microplane or fine grater. Aim to gather about 1-2 teaspoons of zest, ensuring you only take the yellow part of the peel to avoid the bitter white pith. Set your lemon juice and zest aside while you gather the remaining ingredients.
Mix the Base
Once your ingredients are prepped, it’s time to create the popsicle mixture. In a large mixing bowl or blender, combine the fresh lemon juice, sweetened condensed milk, and the milk of your choice. If you’re using granulated sugar, add it at this stage as well. Blend the mixture well until fully combined; this ensures that the sweetness is evenly distributed throughout the pops.
For a creamier texture, consider blending for a little longer to incorporate air into the mixture. This will give your popsicles a light, airy quality. Taste the mixture at this point and adjust the sweetness according to your preferences. If it’s too tart, add more sugar or sweetened condensed milk until you achieve the desired balance.
Sweeten the Mix
After blending, it’s important to taste the mixture one last time. The combination of lemon juice and sweetened condensed milk should create a perfect balance of tangy and sweet. If it feels overly tart, don’t hesitate to add more sweetness gradually. Remember, the pops will taste less sweet once frozen, so achieving the right balance before pouring into molds is crucial.
Once you’re satisfied with the flavor, it’s time to pour the mixture into popsicle molds. You can use traditional popsicle molds or even small paper cups with wooden sticks inserted if you’re in a pinch. Fill the molds to about three-quarters full, allowing enough space for the popsicles to expand as they freeze.
Now that you have the first part of your Zesty Creamy Lemonade Pops recipe covered, you’re well on your way to creating a refreshing summer treat that’s perfect for all ages. Stay tuned for the next section, where we’ll cover the freezing process, tips for serving, and some delicious variations to try!
Incorporating Sugar and Taste Testing
To achieve the ideal sweetness balance in your Zesty Creamy Lemonade Pops, the method of incorporating sugar is crucial. Begin by heating a small amount of water in a saucepan and dissolving the sugar in it, creating a simple syrup. This method ensures that the sugar is fully integrated into the lemonade mixture without any granules that might disrupt the creamy texture.
After combining the sugar syrup with the lemon juice and cream mixture, it’s essential to conduct a taste test. This step allows you to adjust the sweetness to your preference. Depending on the tartness of your lemons and your personal taste, you might want to add more sugar or reduce it slightly. Remember, a well-balanced flavor profile can make all the difference between a refreshing treat and an overly sweet or tart popsicle.
Adding Flavor
Flavor enhancement is key to elevating your Zesty Creamy Lemonade Pops. After achieving your desired sweetness, consider enriching the mixture with a touch of vanilla extract, lemon zest, and a pinch of salt. Each of these components plays a vital role in crafting a harmonious flavor profile.
– Vanilla Extract: The addition of vanilla extract adds depth and warmth, complementing the citrus notes of the lemon. Its subtle sweetness rounds out the mixture, making it more inviting and creamy.
– Lemon Zest: Incorporating freshly grated lemon zest amplifies the lemony essence. The zest contains essential oils that intensify the citrus flavor, providing a fragrant aroma and a bright punch that enhances the overall experience.
– Salt: A tiny pinch of salt may seem counterintuitive, but it acts as a flavor enhancer. It helps to balance the tartness of the lemons, making the sweet notes more pronounced while adding complexity to the overall flavor.
Creating the Perfect Popsicle
Fill the Molds
Once your mixture is well-balanced and flavorful, it’s time to fill your popsicle molds. Carefully pour the creamy lemonade mixture into each mold, making sure to leave a small gap at the top—approximately half an inch—to allow for expansion during freezing. This prevents spills and ensures that your popsicles retain their shape.
To avoid mess, consider using a funnel or a measuring cup with a spout to guide the liquid into the molds. Take your time during this step; a little patience will lead to beautifully shaped popsicles.
Insert Sticks
After filling the molds, the next step is to insert the sticks. If you are using block-style molds, gently place the sticks in the center of each filled compartment. Ensure that they are positioned upright and evenly spaced. If the mixture is too soft, you may want to wait about 30 minutes before inserting the sticks so that the mixture sets slightly and can hold the sticks upright. This will prevent them from sinking to the bottom, ensuring even freezing and a delightful presentation.
Freeze
Finally, it’s time to freeze your popsicles. Place the filled molds in the freezer and allow them to freeze for at least 4-6 hours, or until they are completely solid. For the best texture, aim for overnight freezing. The longer the popsicles freeze, the firmer and creamier they will become, resulting in a satisfying treat on a hot day.
Unmolding and Serving Suggestions
When the freezing time is complete, it’s time to enjoy your creations! To remove the pops from the molds, gently run warm water over the outside of the molds for a few seconds. This will help loosen the popsicles without breaking them. Alternatively, you can gently twist the molds to release the pops. If they resist, a little patience and gentle handling can help them come free without any damage.
For a beautiful presentation, consider serving your Zesty Creamy Lemonade Pops with garnishes. Fresh lemon slices or sprigs of mint add a pop of color and a refreshing aroma that enhances the visual appeal of your popsicles. Arrange them on a decorative platter or serve them in individual cups to make them party-ready.
Storage and Shelf Life
If you have leftovers or want to make a batch ahead of time, storing your popsicles correctly is essential for maintaining their quality. Place the popsicles in an airtight container or wrap them individually in plastic wrap or parchment paper to prevent freezer burn. Stored properly, Zesty Creamy Lemonade Pops can last for up to two months in the freezer, maintaining their delightful flavor and texture.
For an added layer of protection, consider placing a layer of wax paper between the popsicles if you stack them in a container. This helps prevent them from sticking together, allowing you to enjoy them one at a time.
Variations and Customizations
The beauty of Zesty Creamy Lemonade Pops lies in their versatility. You can easily adapt this recipe to suit your taste preferences or dietary requirements. Here are a few ideas for variations and customizations:
– Fruit Purees: For a fruity twist, consider adding pureed strawberries, raspberries, or blueberries to the mixture. Simply blend your chosen fruit and fold it into the lemonade mixture before pouring it into the molds. This not only enhances the flavor but also creates a visually appealing marbled effect.
– Different Flavor Extracts: Experiment with other flavor extracts, such as almond or coconut, to create unique variations. Just a few drops can transform the flavor profile while still maintaining the refreshing essence of lemonade.
– Dietary Accommodations: If you have dietary restrictions, you can easily modify this recipe. For a dairy-free version, substitute the cream with coconut milk or almond milk. If you want to reduce sugar intake, consider using natural sweeteners like honey, agave syrup, or stevia, adjusting to taste.
Conclusion
Creating Zesty Creamy Lemonade Pops at home is not only a fun and rewarding experience, but it also brings back nostalgic memories of summer treats. The combination of tangy lemons and creamy goodness strikes the perfect balance between tart and sweet, making them an irresistible addition to any summer gathering or a refreshing snack on a hot day.
Encouraging creativity in the kitchen, these popsicles invite you to experiment with flavors and ingredients, tailoring them to your personal taste. Whether you stick to the classic recipe or explore exciting variations, the joy of enjoying a homemade popsicle is unparalleled. So gather your ingredients, follow these steps, and delight in the satisfaction of crafting your own delightful, zesty treats.
